JPEG vs. RAW- What is the difference?
Have you ever wondered what the differences between jpeg and RAW are? Do you know when to use RAW or why there are different types of files? Well, I am going to do my best to explain this to you. Here goes…..
Jpeg is the most common type of file format for photographs and paintings today due to the good quality to compression ratio. RAW is not necessarily a file format. It’s simply the output of direct information from the sensor written into a file without processing or compression.
Jpeg stands for “Joint Photographic Experts Group”. This group got together and standardized a way to compress a file in order to reduce the file size of a photo while maintaining very minimal loss of quality. A RAW image of 8 megabites would also be an 8mb file while a jpeg of the same image would be about 10 to 40 percent of the size of the RAW file.
One of the big advantages that Jpegs have is that it is recognizable by most programs for viewing photos. Since Jpegs are considered as a finished product, they can be be printed or edited easily. RAW, on the otherhand can only be read by a few programs and are not considered “finished” files. They have to be edited. Also, RAW images often look like poorly taken images with low contrast. Because of these reasons most people shoot Jpegs files.
The RAW format is commonly used by professional photographer despite the large size if the file. The reason is that most professionals don’t print a photo until it has been “touched up” or “manipulated” in photoshop. This is where RAW files shine. A photographer has a lot more latitude when working with a RAW file. Since a RAW file stores all of the information, this makes it easier to get high quality photos pro photographers need. Editing a Jpeg file means that more data will be lost and the image quality will be inferior to what is generally accepted for print media.
To sum it up here are a few points:
1. Jpeg is a comressed file that is a fraction of the size of a RAW file.
2. RAw is only readable by a few programs where as Jpeg is readable by most programs.
3. Jpegs have higher contrast than RAW files most of the time.
4. Jpegs are suitable for immidiate printing while RAW file have to be edited first.
5. Most people shoot Jpegs while pro photographers usually shoot RAW.
Please let me know if this post was helpful:)
Thanks:)
How to Avoid Camera Shake
Camera shake is guaranteed to ruin what could be a perfect photograph. It can be a big problem when shooting with a slow shutter speed and othersituations and the smallest movement can play a huge role in making your shots blurry.
The following tips can help you reduce camera shake, giving you a much better final results
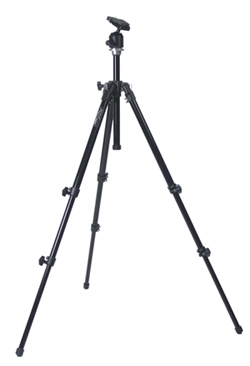
1. Use a Tripod
The biggest reason for camera shake is your own movement. If you have a tripod get your camera on that sucker. When you are shooting with a long exposure a sturdy tripod is a must for getting rid of camera shake.
2. Use a Shutter Release Cable
Even if your camera is on a tripod you can still get a bit of blurriness in your photos. Go out and buy a shutter release cable. You can buy electronic shutter releases for most cameras.
3. Use the Timer
Another way to avoid shake when you press the shutter is to use your in camera timer. Simply set your timer on your camera and step back!
4. Make Yourself Stable
If you don’t have a tripod, atleast try to make yourself stable. Lean against a tree, or wall. Hold your breath when you press the shutter button. Stop any movement you are making. This is not as good as having a tripod but it will help.
5. Make the Camera Stable
Set your camera on a rock, or against a wall. Carry a beanbag and place your camera on it. Use a fencepost if you are in a field. You can even rest your camera on a table. Use anything that is solid to steady your camera.
These are a few ways to avoid camera shake, if you can think of any others please let us know by leaving a comment. Thanks!
Dressing for Success!
Earlier I talked about how to dress if you are in a portrait, or what to tell your clients to wear. This can really add to the
quality of the photo and can put money in your pocket if you are the one getting paid.
Another thing that is really important is how you(the photographer) dress!
While I was on college I worked part time for a photographer as his assistant. We shot wedding, little leagues,
and events on weekends in Missouri and Kansas. My boss always wore a tux when shooting weddings. He acutually bought a tux to
save on the cost of renting one. More than a few times I heard people say that it was really professional that the photographer
wore a tux. I know that it got him business too!
Now I’m not saying that you should wear a tux to weddings, but dressing appropriate is important. It tells others that you
respect them and their special day.
Also, I live in a small town in Idaho. There are about 13,000 people in my town. I work for a small business and image is really important.
When I go somewhere I have to make sure that I look neat and sharp. I actually go to Walmart in slacks and a dress shirt. If I am not
wearing slacks and a dress shirt I am at least wearing jeans that are not holey. I you are running a small business I would suggest you give
thought to what you wear around town. Remember Image is everything!
Tips for Getting Better Landscape Photographs
I love taking photographs of landscapes. Next to photographing water, landscapes are my favorite!
There are a few things you as a photographer can do to increase the chance of getting a great shot.
Here are a few tips.
1. Shoot with your camera on a tripod. This will allow you to use a small f-stop and help avoid camera shake.
2. As mentioned above use a small f-stop like F/22. This will give you more depth of field. Depth of field controls what is in focus and out of focus in your photograph. A small f-stop will also increase sharpness in your photo.
3. Add something to the foreground. If you are taking photos of a mountain, look for a rock or a tree or something to put in the front of the photograph. This will help add balance to your photo.
4. Pay attention to the time of day you take the photograph. Usually it is best to take landscape photos during the early morning or the late evening.
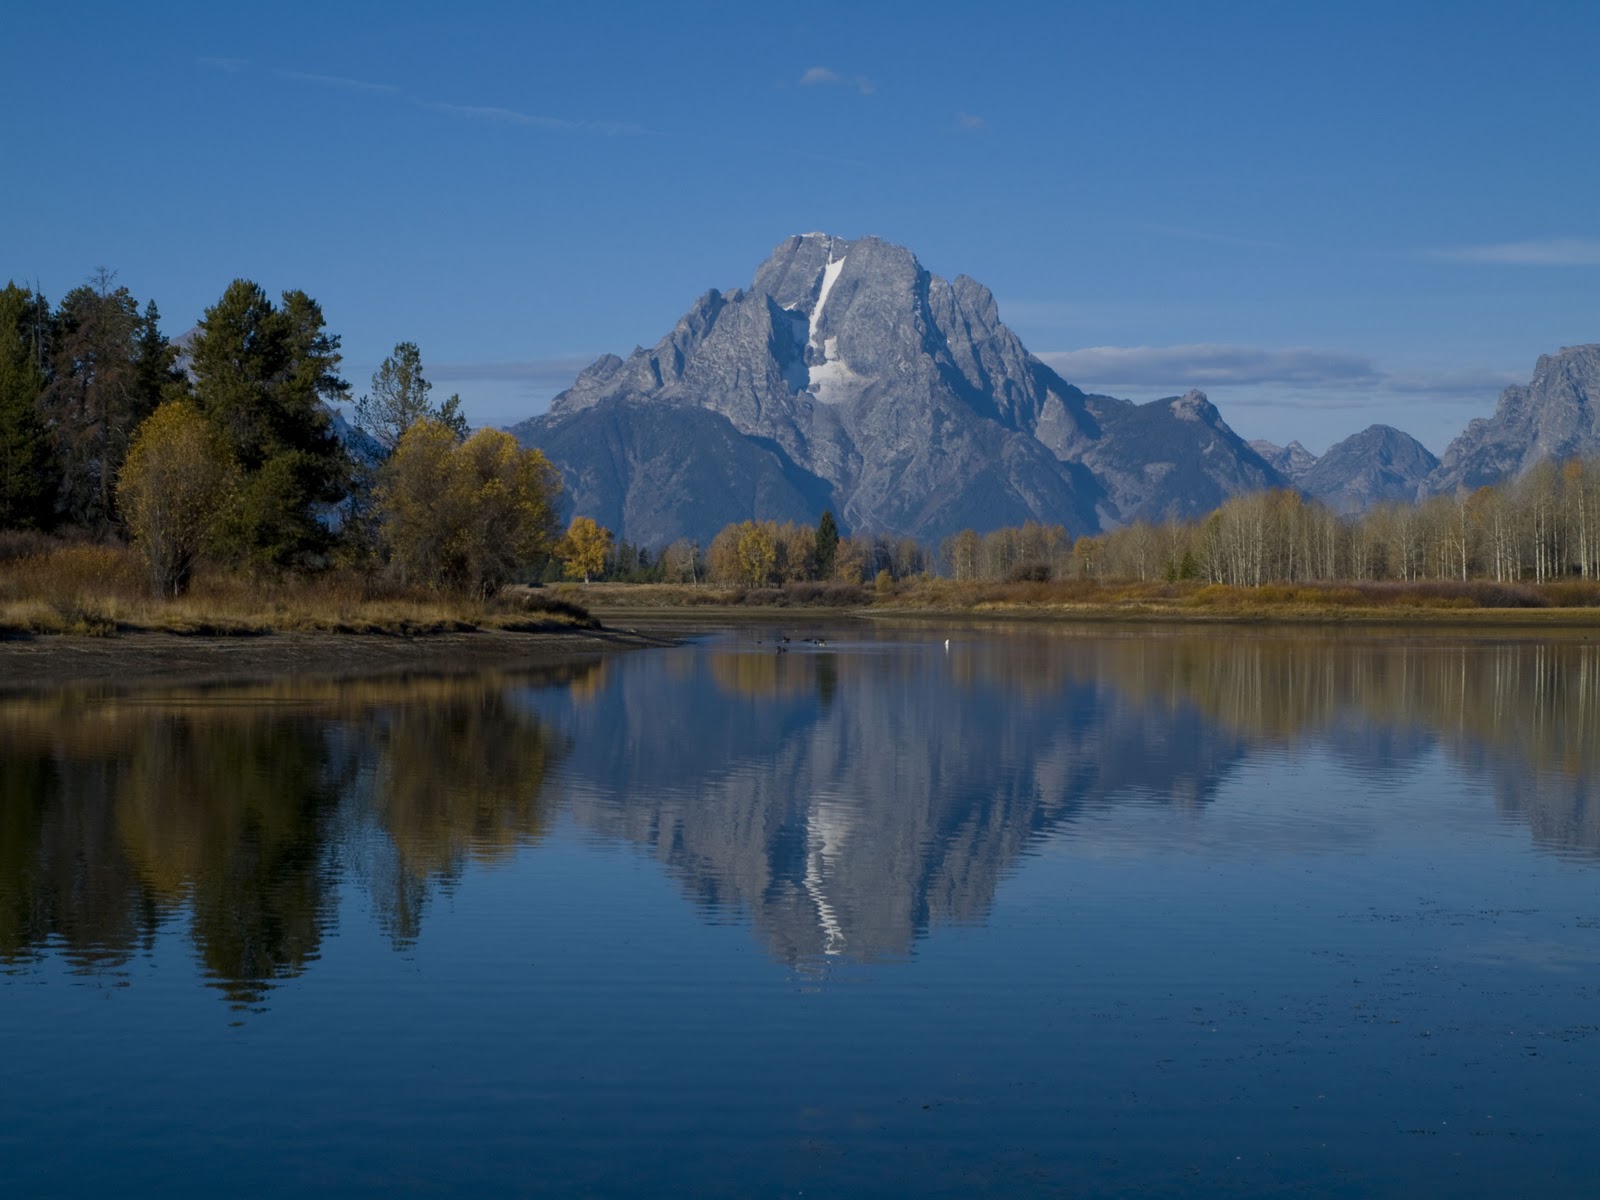
5. Think about how the light is falling on your subject. I have inculded a photo of Mt. Moran in Teton National Park. I had to take this photo in the morning. I could not have taken this photo in the evening because the light would be on the other side of the mountain and it would create a silouette or shadow.
6. Shoot in RAW. This way you can adjust your photo without affecting the quality. (don’t know what Raw is? I will tell you soon!) I use to not bother with RAW and shot everything in jpeg. Then I started to sell my photos. Jpegs decrease the quailty in your photo so shoot in RAW format and avoid the issues that come with jpegs.
7. If your photo incudes water use a long shutterspeed. If you can get a shutterspeed of 3-8 seconds the water in your photo will look silky. This can add a whole new dimesion to your photos.
8. Use a polarizer. This can darken the sky in your photos and help clear up haze.
Written by Brian Johnson

Recent Comments