Photography Training: Ebook for Beginner Photographers
Another great book that everyone should have
What is Digital Image & Digital Color
Understand Photography Light
Creative Photography Techniques
Composition
Digital Image Editing
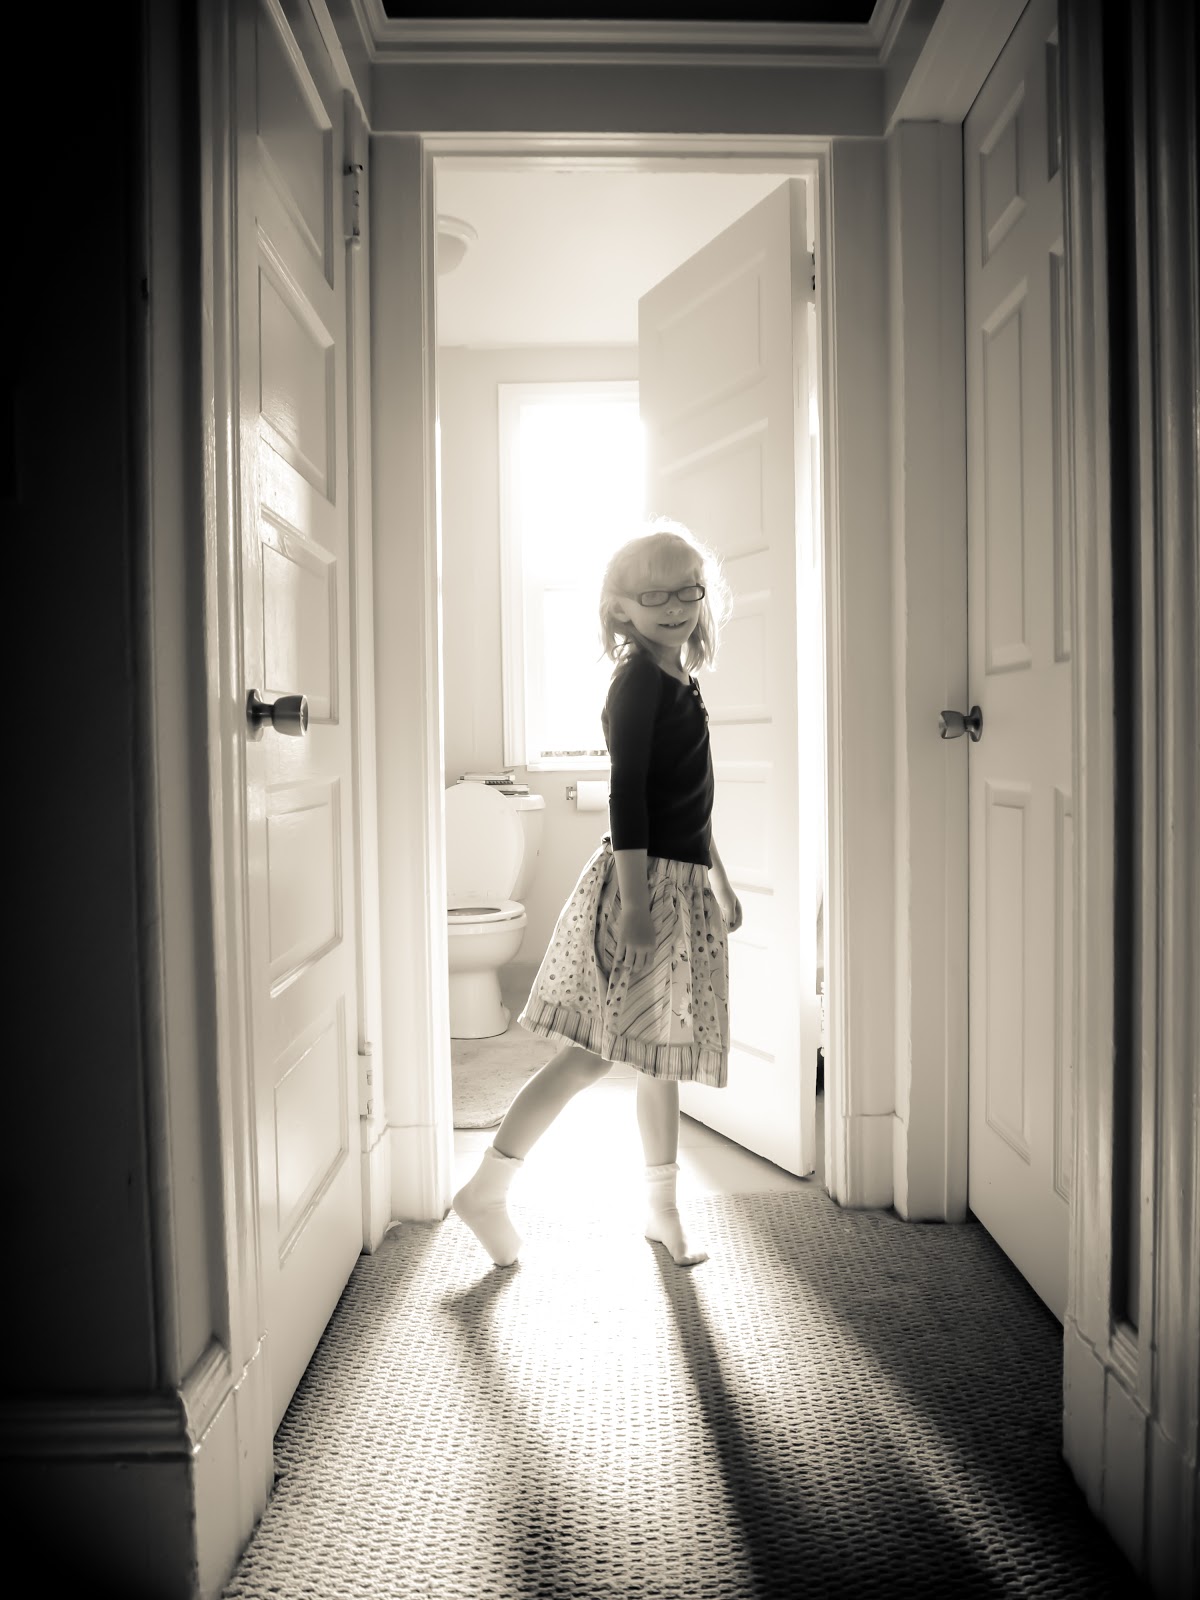
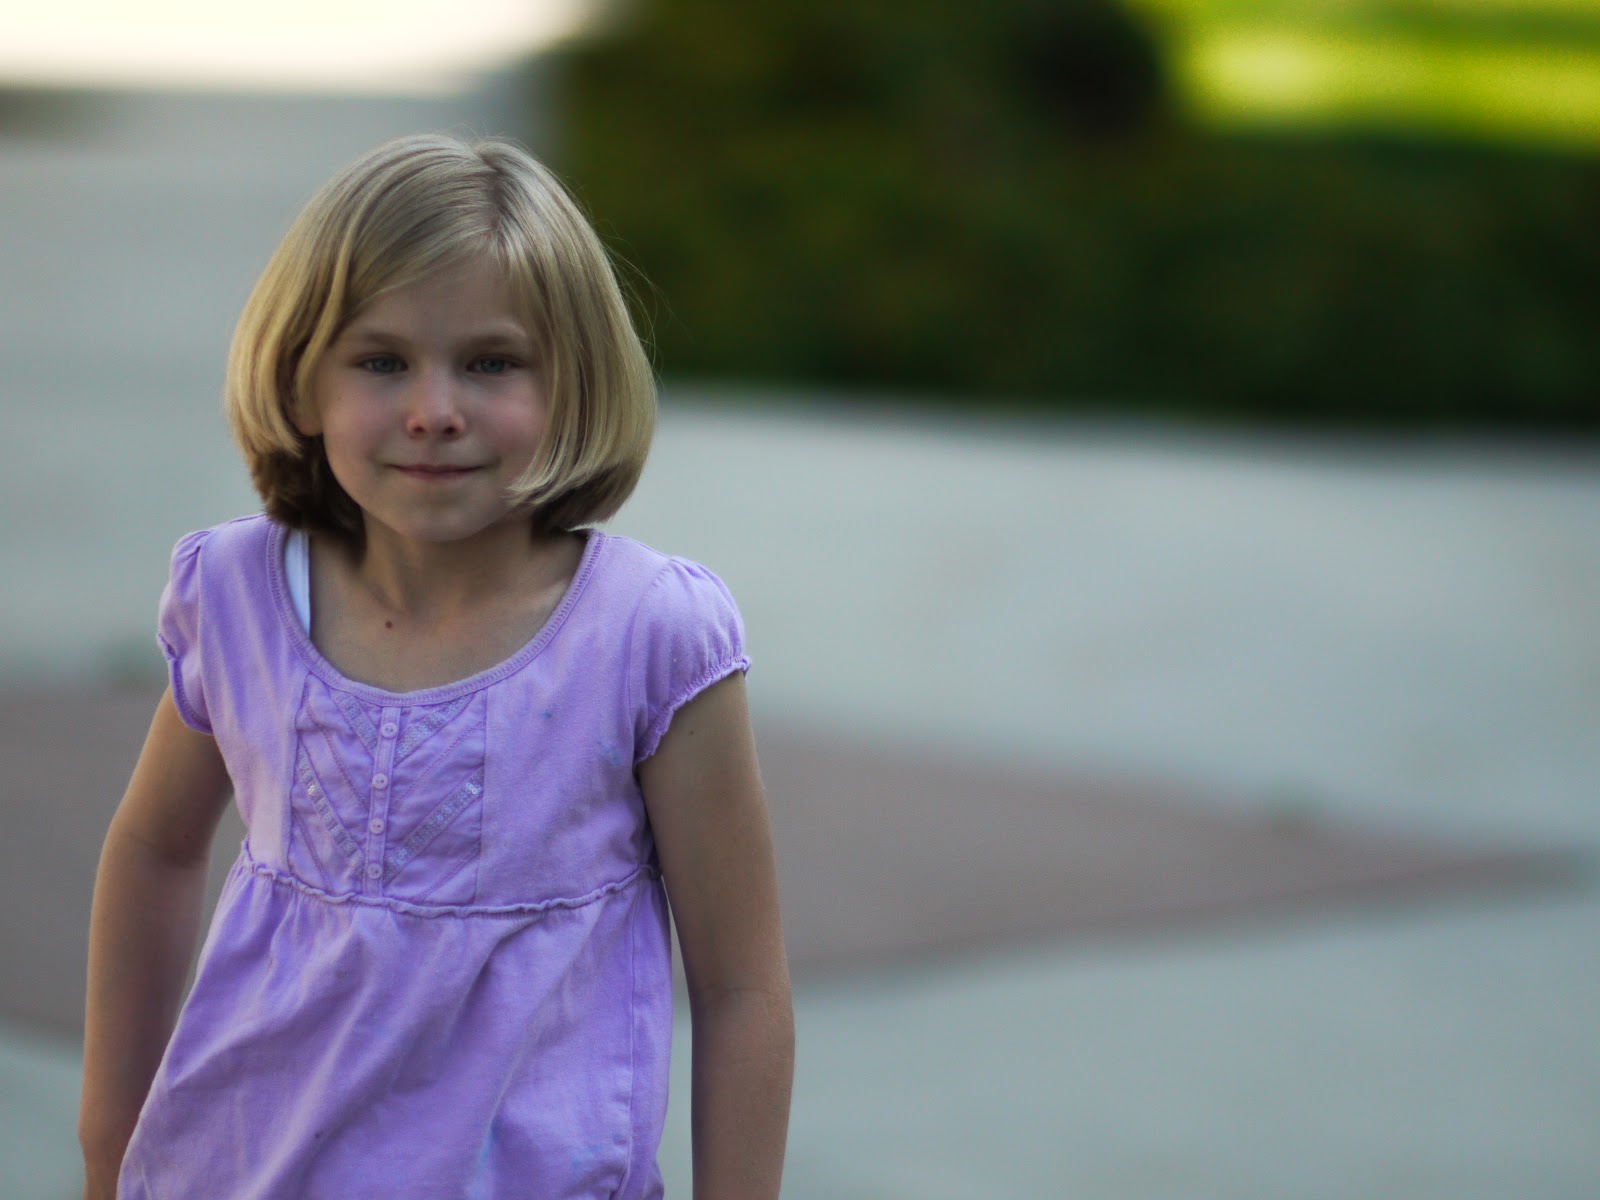
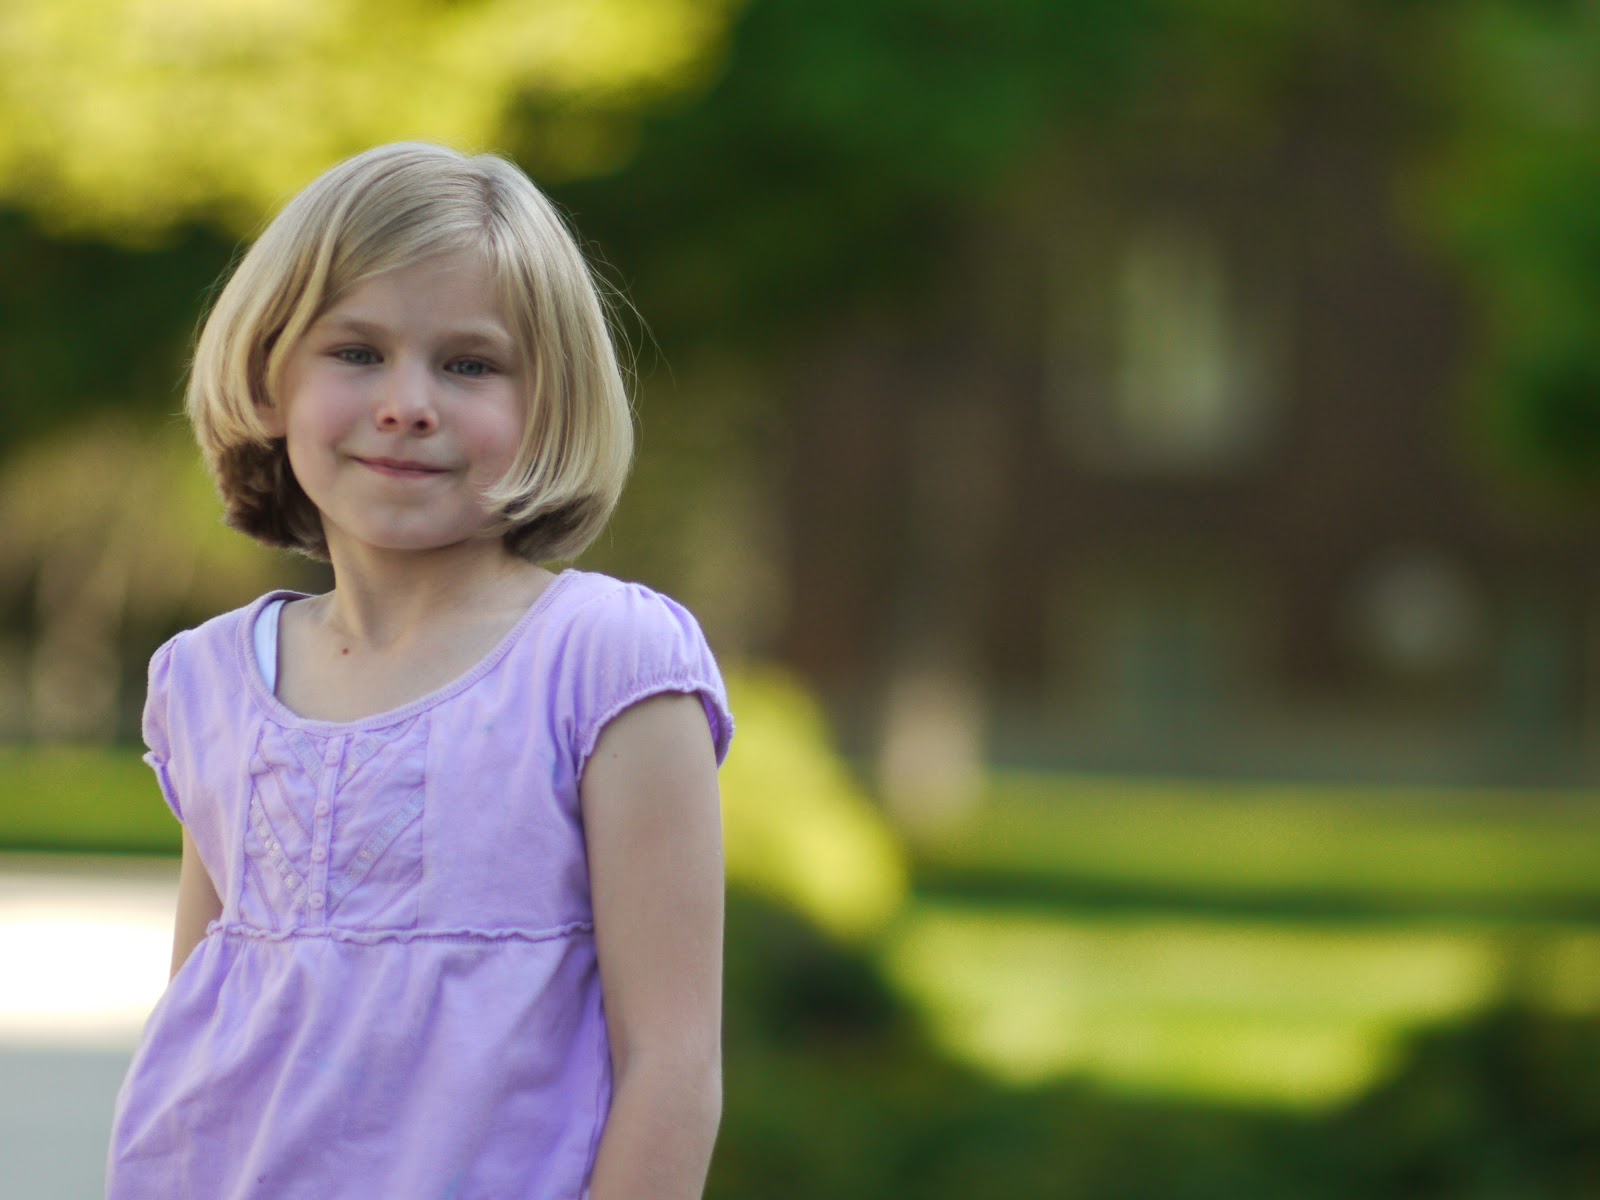
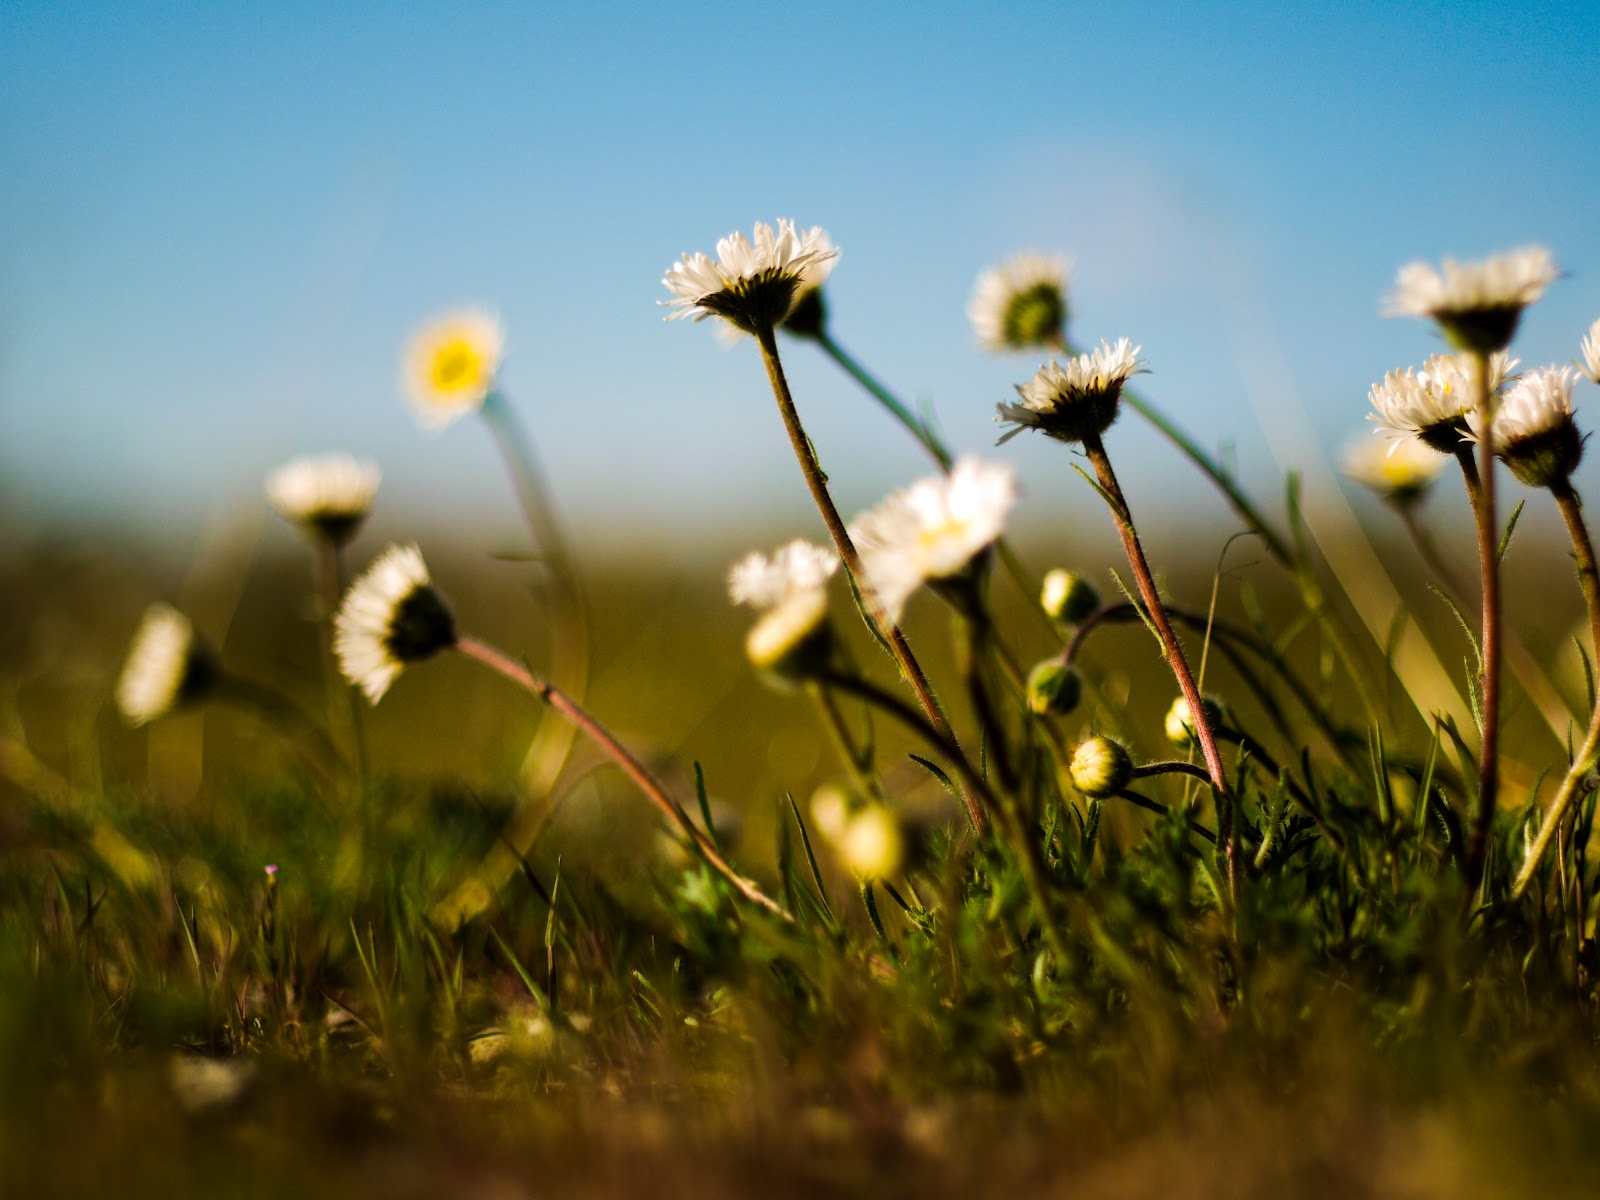
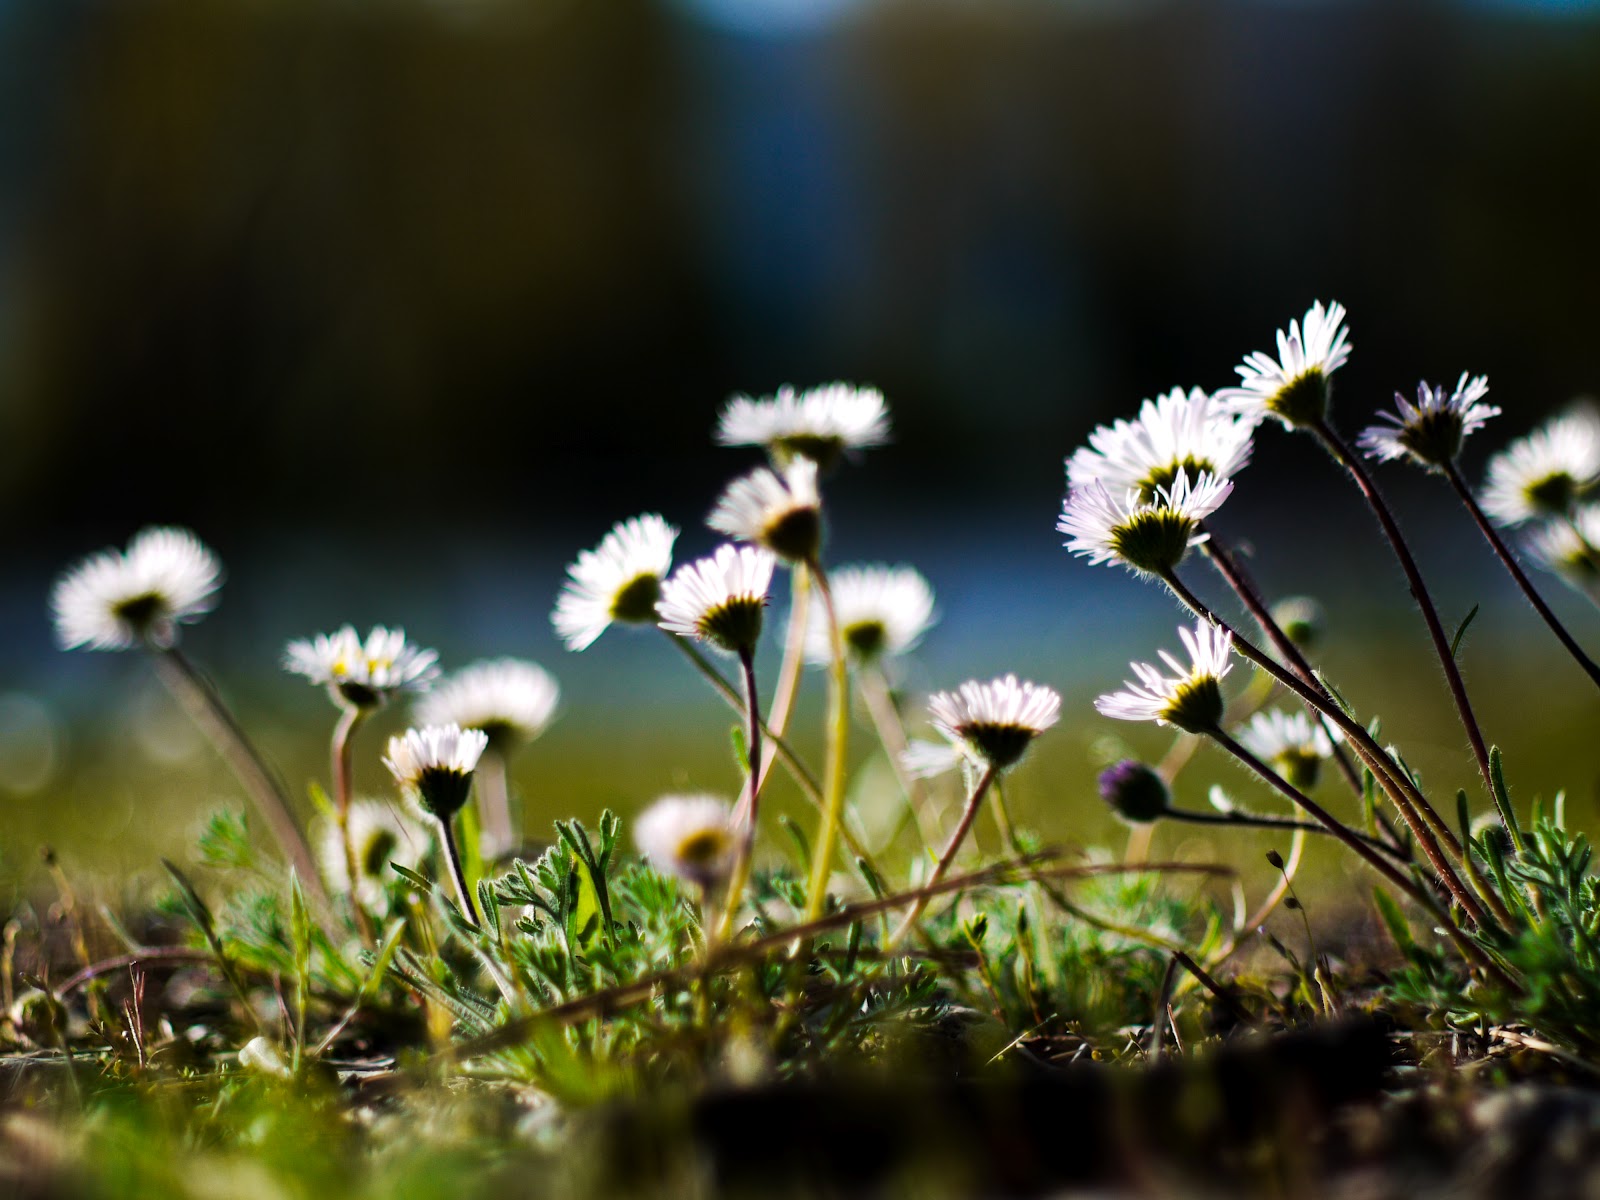
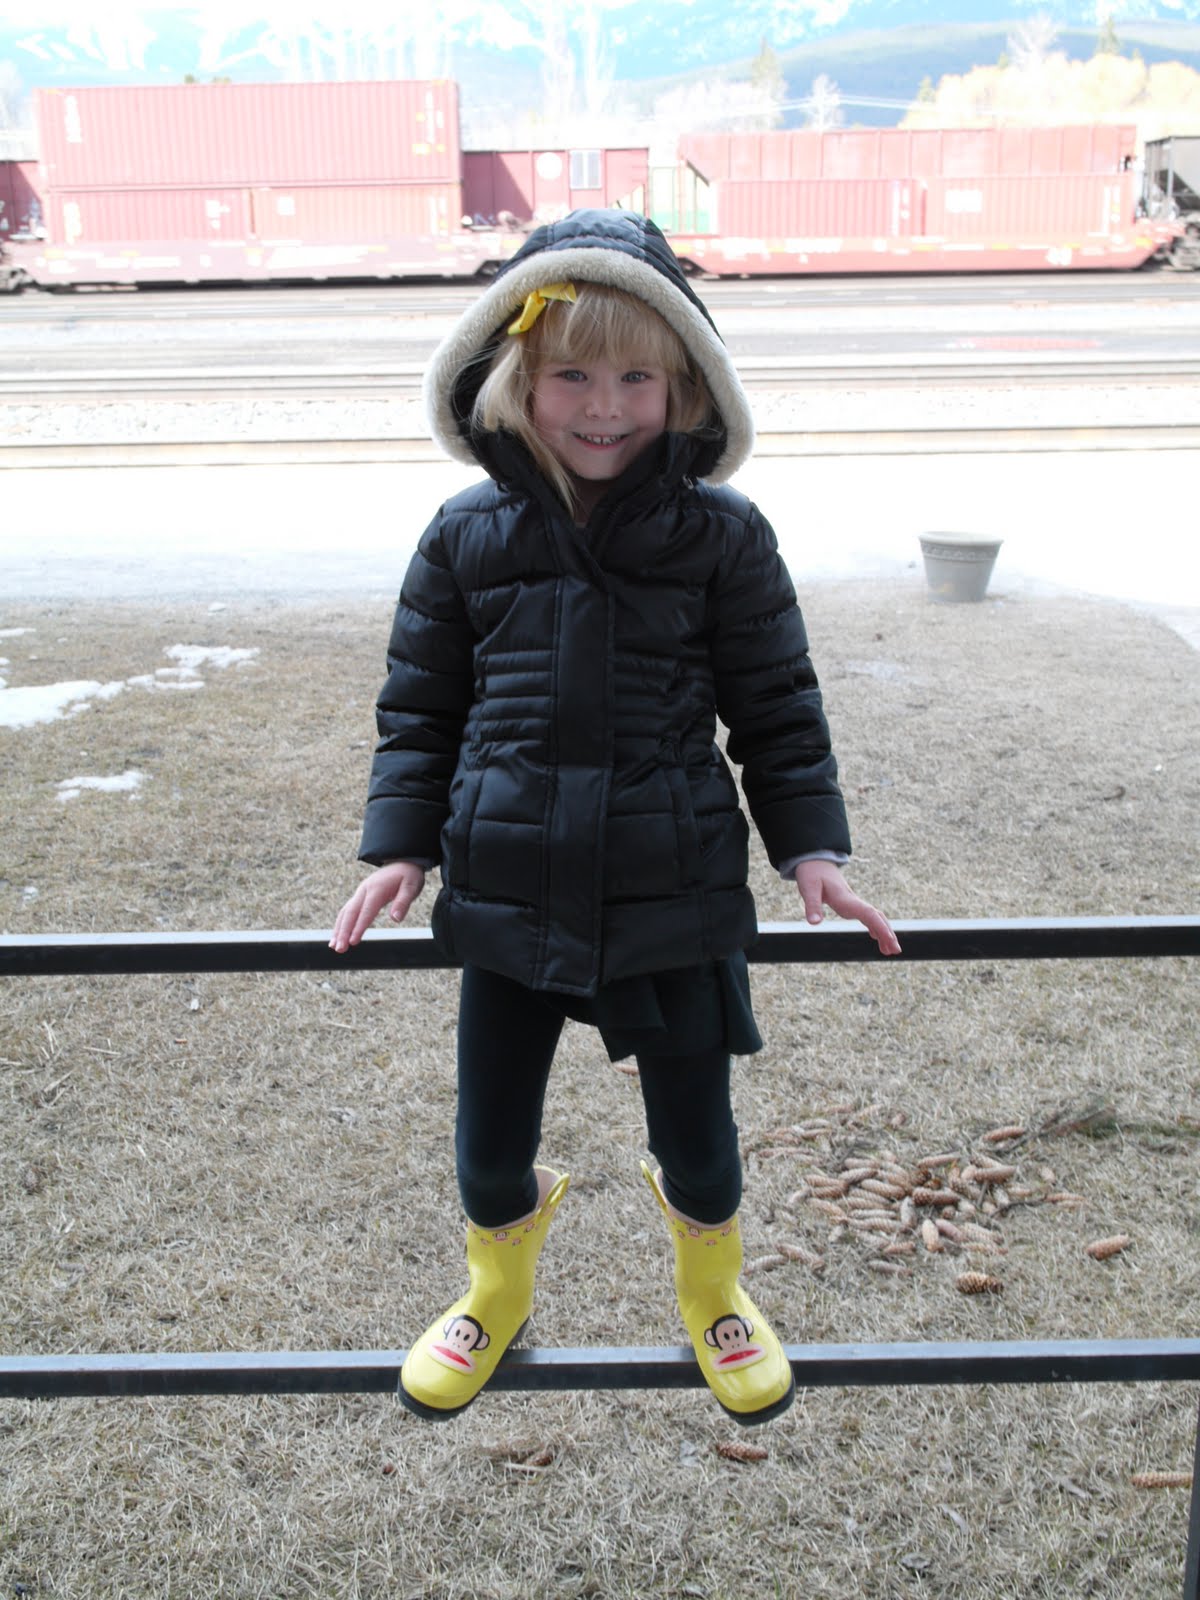
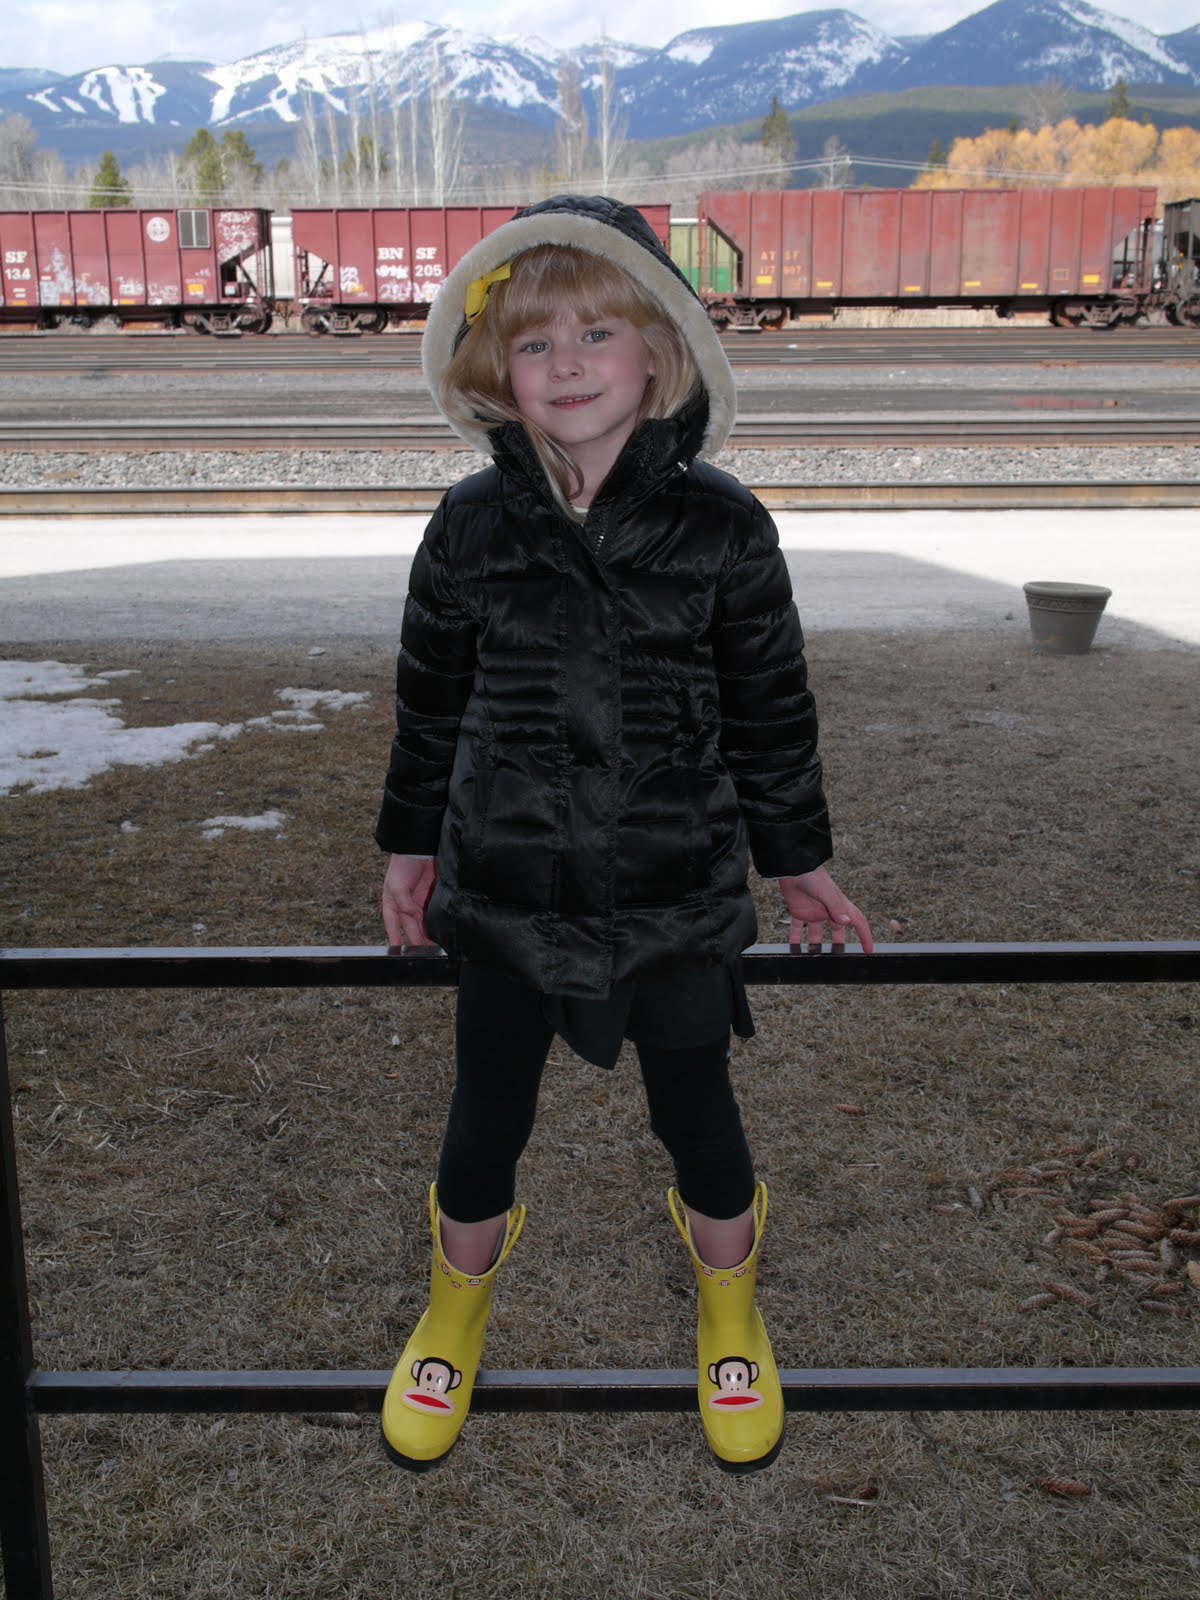
A Simple Tip to Improve Your Photography: Change Your Perspective!

Amazing Video on Basic Photography Composition!!
The best place to learn about photography!
Great Video on Photography Basics!!
Digital Camera Basic- Great Video!
Basic Tips for Better Photographs!!
Enjoy!!!
How to use Shutterspeed
One of the most common questions beginning photographers have is “What is Shutter speed and what does it do?”. Shutter speed is one the most important controls on the camera and needs to be understood to make great photos. Shutter speed controls the ammount of time your digital sensor is exposed to light. The shutter speed effects how your image is captured on your digital camera. The Shutter in your camera is a thin piece of plastic or metal that opens when you press the shutter button on your camera. The shutter speed determines how long your shutter is opened and how long you sensor is exposed to light.
In a DSlr(Digital single lens reflex) camera, or TTL( through the lens) camera, the shutter release button also moves a mirror out of the way of the shutter curtain. The movement of the mirror and the curtain give the camera the “click” sound that DSLR cameras are famous for. AS you learn about your camera you will hear the difference in the “click” of a slow or fast shutter speed.
Measuring shutter speed is quite simple. Shutter speeds are measured is fractions of seconds. A shutter speed of 250 is actually 1/250th of a second. Most cameras have speeds from up to 1/4000th of a second to 30 seconds. There is usually a “B” mode also. “B” Stands for “Bulb”. When the shutter speed is set to bulb, the shutter stays open until the shutter button is released. “B” can be used to create extremely long
eposures(60 seconds for longer).
A long shutter speed is usually considered to be 1/60th of a second or longer. As a general rule any photograph taken with a shutter speed slower than 60th of a second needs to be steadied with a tripod. If the camera is not steadied you run the chance of having a blurred photograph. Some cameras have image stablization or vibration reduction which allows you to hand hold your camera at slower speeds
like 1/15th of a second. There is also “long exposures” which are usually defined as exposures over 1 second long.

A fast shutter speed is usually considered to be 1/500th of a second or shorter. Fast shutter speeds are good for freezing, or stopping movement for clear images when shooting moving or fast subjects.

The basic rule for knowing the slowest shutter speed you can use with a particular lens without useing a tripod, is to take the number of the lens length. For example, if you are using a 300mm lens, the slowest shutter speed you can use is 1/300th of a second. If you are using a 100mm lens, the slowest lens lenght you should use is 1/100th of a second. You must remember that without image stablization you can not shoot below 1/60th of a second or you run the chance of blurr in your photo.
Changing the Shutter speed on cameras is different depending on what camera you have. Usually it is adjusted by turning a knob or dial. If you don’t know how to change the Shutter speed, look at your manual.
Here are some guidelines for shutter speeds when shooting to stop action.
Football- 1/400
baseball/hockey- 1/350
running children- 1/350
jumping people- 1/250
golf balls- 1/3200
splashing water- 1/350
How To Use Flash During The Day.
How to Become the Best Photographer!
While writing this blog I have talked to a lot of people that love photography. They are passionate about it. They absolutely love photography, but they get frustrated because they compare themselves to other photographers. I have to admit that I am one of these people. I see other photographers that just seem to outshine me and I want to be better. I want to be the best at what I do. However, at this point I am not. So, I keep trying. I keep learning.
So, here is the question I have been asked: How do I become a better photographer?
There are a lot of answers to this question. Here are my suggestions.
1. Read. This is one of the most important things you can do as a photographer. Go down the the local book store and buy some books on photography. Or even better, go to the library. I heard somewhere that if you read 20 books on a subject it is considered as having a masters degree in the subject. So, get your masters in photography without having to go to a School and pay for it!
2. Look at other photographs.
I love to look at others photographs. With the internet at your fingertips you can spend hours looking at photos. When you see a photo you like, try to figure out how they did it. Look at the pose( if it is a portrait), of look at the direction of the lighting. Figure out what time of day it was shot at. Then try to duplicate it.
Join www.flickr.com . There are millions of photos to look at!
3. Go out and shoot.
I once met a pro photographer who shot a minimum of 36 shots a day(One role of film, does this date me?)
His idea was to get as much practice as he could because it does take practice to become a great photographer.
4. Be patient.
This is the frustrating part. It takes time and a lot of practice and a lot of learning to get great at anything. Don’t expect to become great overnight.
Hopefully this helps answer those questions that I have been asked. I can think of a few more, like going to school, classes, joining organizations, but those cost more money. If you can think of others please leave comments so others can benefit from them. Thanks, Brian.

Recent Comments