Archive | photo RSS for this section

Neutral Density Filter. How to Create Motion in Water.

If  you think this is a hard shot to get you are wrong. I did 4 things.
1. I put the camera on a Tripod
2. I set the camera on f/16 and the aperture priority setting.
3. I attached a neutral density filter.
4. I set the timer for 2 seconds so I would not shake the camera while pushing the shutter button.

This is all there is to it. So the question most of you will ask is what is a neutral density filter?
Simply put and ND filter is a glass or plastic filter that is darkened so that more time or a bigger aperture is needed to gain a correct exposure. This is what a ND filter looks like.

If you attach this to the front of your lens you can either use a longer shutter speed or a larger aperture. It’s really simple and the effects are amazing. You can purchase an Nd filter online for about 18-100 dollars. I use a Fader ND filter. I like the faders because I can carry one filter and not have to worry about stacking them on top of each other if I need a longer exposure. Remember that when you put a filter over your lens it can distort your image. Be careful when you purchase filters. If you get a cheap one it might cause color issues or other quality problems with your images. That being said I paid 18 dollars for my filter.

Connect with us on Facebook!

Buffaloz Photography Training: Free Online Photography Tips, Training and Tutorials.

Brian Johnson is the owner and main writer for Buffaloz Photography Training. He is a bit weird at times but is always a fun likable guy. He also owns Missoula Photography Schooland Ayres Photography. 

Creative Film Photography

Creative Film Photography
I have always loved film photography. To me it seems like a challenge. It’s exciting. I like the idea of not seeing what the photo looks like right away and I also look forward to getting film back.
Lately I have been developing my own film. I bought the supplies at my local camera shop and since it had been 20 years from the last time I had developed my own black and white film I decided I would research it a bit and make sure I remembered how to do it.
Funny thing. I am better at it now than I was 20 years ago. This might be because I am more patient when it come to putting the film on the spools. I get fewer crescents in my film and it just seems easier than it was 20 years ago.
Here is the thing. I don’t have a film scanner at the moment and I am in the process of getting an enlarger to make prints. In the meantime I wanted to find a way to show my work to others. I know it has been done before but in desperation I came up with a way to get a positive image from the negative at no cost.
What I do is I take the negatives and tape them to the front of my studio window. Then with m digital I take a few shots. Then I upload them into photoshop( which I rarely use) and invert the image. This is what I get. To see more of these images you can visit my Facebook page. There is a link below. If you have questions let me know on Facebook.
Link to images on Facebook

Buffaloz Photography Training: Free Online Photography Tips, Training and Tutorials.

Brian Johnson is the owner and main writer for Buffaloz Photography Training. He is a bit weird at times but is always a fun likable guy. He also owns Missoula Photography Schooland Ayres Photography. 

Photography Tips- Out of Focus can be Good in a Photograph.

Photography Tips- Out of Focus can be Good in a Photograph

You are probably thinking I am crazy. Right. I will admit it. I am. Everyone know is. Here’s the thing. I do think that having an image that is out if focus can be good sometimes. Notice I said sometimes. I had a session with a lovely lady the other day and I was shooting with a lens that has really shallow depth of field.  I decided to see what would happen if i experimented with having her out of focus, but still the main subject. I shot ditigal because I still have a hard time affording to shoot film for something like this and because it was experimental and digital is cheaper and I could see it right away, why would I shoot film for this. So. I shot and shot and shot, Cause that’s what I do. Here are a few examples of what I mean. I like them out of focus. What do you think? Really, I want to know.
Connect with me on Facebook and leave a comment!!
 Click here to go to my Facebook page!

I am in a hotel room in Bozeman Montana and it is about 7:15am and I will leave soon but since I will be staying in Hotels for a while I will make the best of the time and do more posts. I hope you enjoy my blog and my photos. Do you know that I own a photography school in Missoula Montana and I teach workshops? You do know. Visit my Facebook page for Missoula Photography School to learn more about my workshops and how you can attend!
Click here for the link!

Brian Johnson is the owner and main writer for Buffaloz Photography Training. He is a bit weird at times but is always a fun likable guy. He also owns Missoula Photography School and Ayres Photography. 


Photography Training: Why it is Important to Touch Up Your Photographs.

Photography Training: Why it is Important to Touch Up Your Photographs.

I have worked for over 20 years as a professional photographer. Everyday that I have taken photos I have learned something new Even though I write this blog and I shoot almost every day I still get a big surprise once in a while. 
I have touched up my images myself since the beginning of my career. I used to develop and print my own film and now I use computer programs which make it a lot easier. 
The other day I had an awakening. I wouldn’t say it was rude because it came from a good friend. I had photographed her son a few weeks ago for his senior portrait. As most boys his age do, he had a small problem with acne. I did not remove them and sent her and gave her the images. Well, she called me yesterday and asked me if I could take care if it. 
It was at that moment that I had a paradigm shift. I had become lazy. I was putting my name out into the public and I wasn’t putting my best foot forward.  When she got off the phone with me I will have to admit I was kind of embarrassed. I have made to new promise to myself that I will only sell, and post( on my various sites) my best work. This principle is the same with any job. Always do your best and don’t do  half @%#@#  work.

Here is an example of an image that is touched up correctly and one that is does half @#$^.

The Image below is good(at least I think it is. I took it)
Photobucket
This Image is better. It took me 5 minutes to do this.
Photobucket
Not touched up but still nice right?
Photobucket
Much better don’t you think?
Photobucket
So, if you don’t have programs to touch up your images then you are missing out. The program that I used to touch up these images cost me $50. That’s it. Anyone can afford it.
Also, you should check out this e-book. 
The Easiest Way to Start a Photography Business Book Click Here! Only $97 dollars!
-If you are interested in starting a photography business, this is a great resource!
All kinds of great info to get you started!!
AND
Portrait Photography Guide Click Here! Only $47 dollars!
Any excellent resource if you are interested in learning the art of Portrait Photography!
If you want to make money at photography they will really help you out. I recommend them. 
As Always thanks for reading this blog and if you have questions please get hold of me or leave a comment.
Buffaloz Photography Training: Free Online Photography Tips, Training and Tutorials.

Photography Training: Ebook for Beginner Photographers

Photography Training-Digital Photography For The Creative Eye ebook!

Digital Photography For The Creative Eye Click Here! Only $14 dollars!
Another great book that everyone should have

This is  a great ebook to get started with learning photography.
Here are some of the things you will learn about
DSLR Photography Essentials
 Learn How Digital Camera Works
What is Digital Image & Digital Color
Understand Photography Light 
Creative Photography Techniques 
Composition 
Digital Image Editing 
If you are starting out in photography and just need help with the basics this ebook will really help. 
Learn how to take better portraits

Learn about the different types of lighting

And learn the basics of Composition
Become a better photographer and all it costs is 14 dollars.  It costs less than a trip with my kids to Mcdonalds.
I look at books as an investment. I read a lot and I have become a better photographer because of continual learning. If you want to be a great photographer you need to keep learning and learning. This book is simple to understand and fun to read.
Digital Photography For The Creative Eye Click Here! Only $14 dollars!
Just so you know, I do make a little money when you purchase an ebook from this site. I need to pay the bills and support my family of 4, soon to me 5. Here’s the thing though, I only recommend products that I have used myself and I feel are of the highest quality. So help support this blog and my family and become a better photographer at the same time!!  If you have questions or concerns you can shoot me an email at ayresphotography@yahoo.com
Thanks, Brian
Owner of Buffaloz Photography Training and Professional Photographer

Photography Training: A Few Shots From Our Vacation So Far!

Photography Training: A Few Shots From Our Vacation So Far!

I thought I would share a few shots from my families vacation so far. We are staying in Oakland but we are going into San Francisco for most of the days. Anyhow, Here are a few shots I took today! Hopefully I will have more for tomorrow. Hope you enjoy!

Buffaloz Photography Training: Free Online Photography Tips, Tutorials and Training!

Photography Tips: Manual Exposure – How and why you need it

Great Video! I couldn’t have said it any better!

Buffaloz Photography Training: Free Online Photography Tutorials, Training and Tips!

10 Ways to be More Creative With Your Photography by Luke Chapman!

How to be creative at photography by Luke Chapman
Everyone who has a DSLR camera wants to know how to get their camera off program mode and onto manual mode.  Whilst this is important, as there are some great techniques you can use in manual mode, people forget about the creative side of photography and worry too much about the technical side. If I can recommend one thing it would be to spend 30% of your time learning about the technical side of photography and 70% of your time honing your creative flare. Below are 10 tips to make you more creative.
1 It’s not all technical
When it comes to getting creative at photography don’t get too fanatical about the setting on your camera. A well thought-out photo in program mode is going to be much better than a photo that has been shot in manual mode but with less thought given to the overall photo.
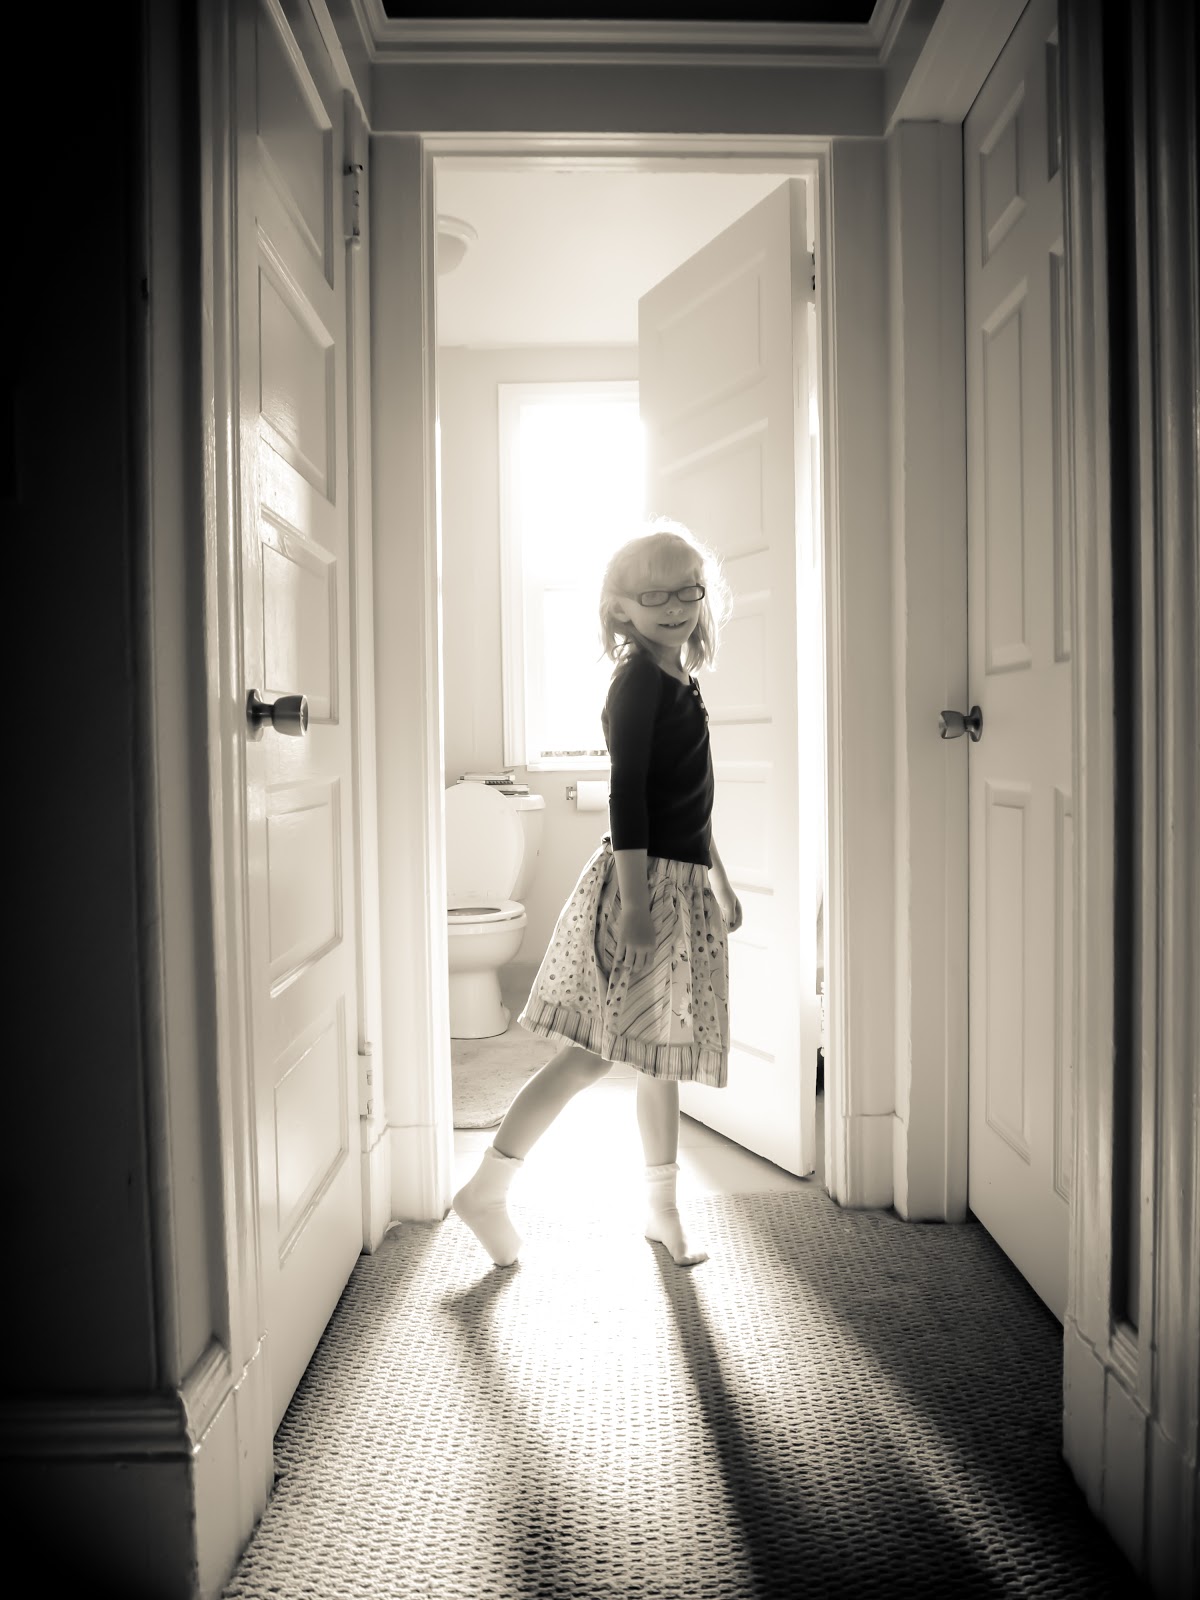
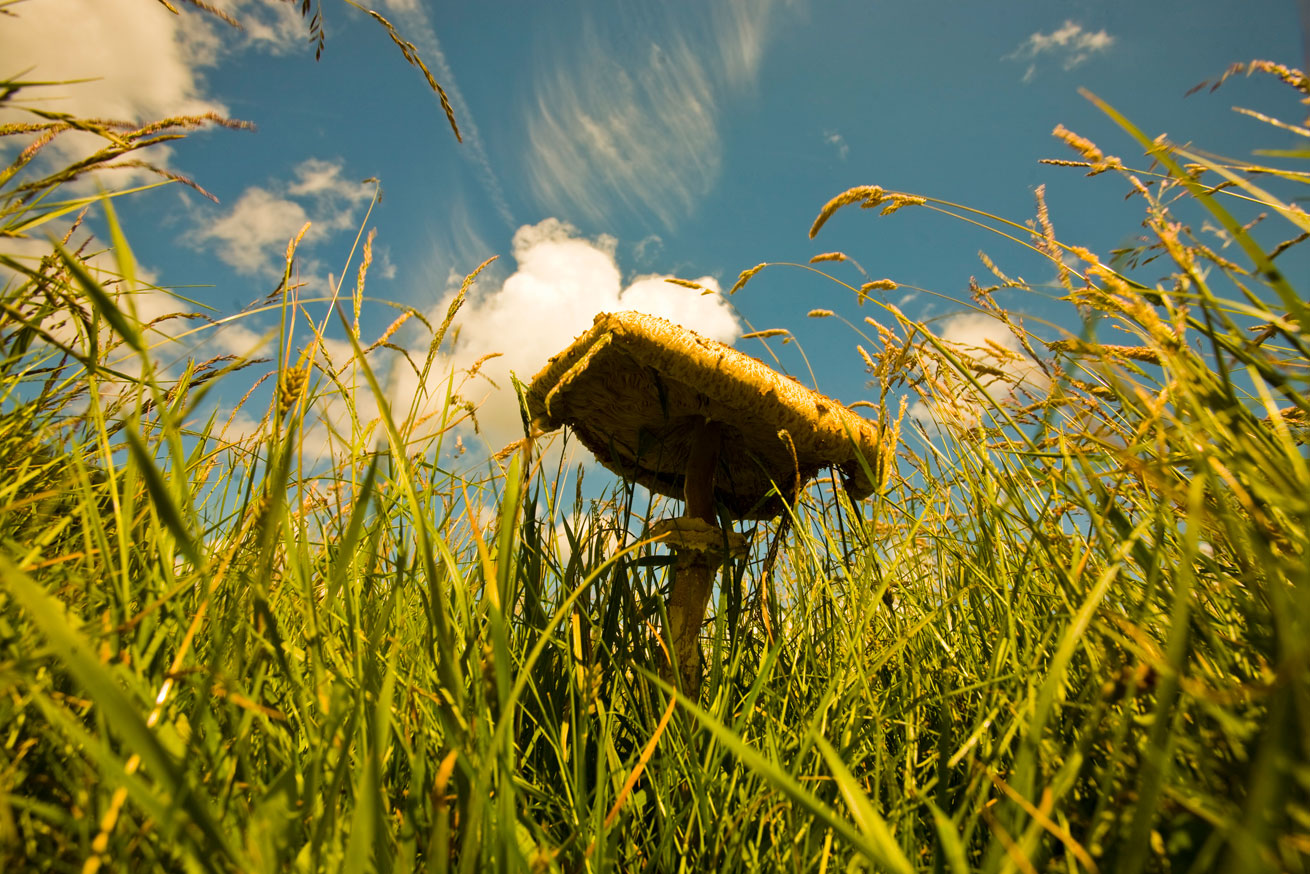
2 Change perspective – shoot high, shoot low
So many photographers shoot at eye level, but things get really interesting when you change the height of the camera. Crouch down low and shoot up and all of a sudden you enter a whole new world.


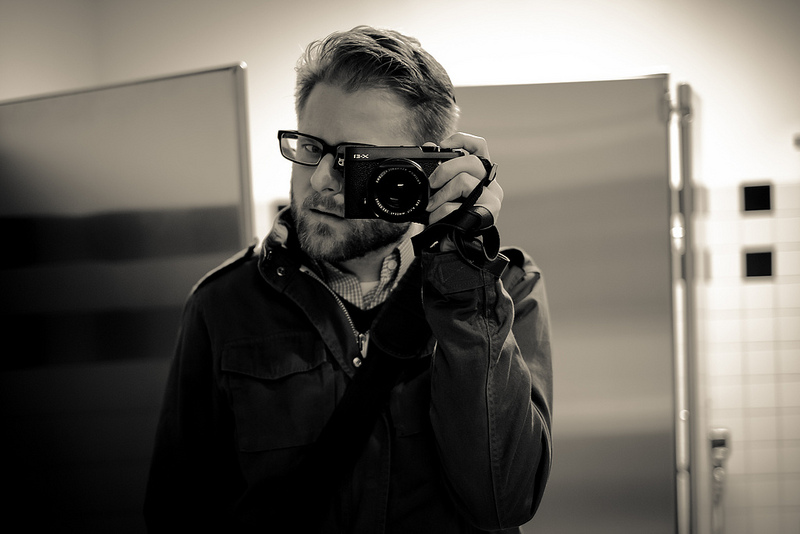
3 Don’t have your camera around your neck
I am still amazed by how many photographers shoot with the camera around their neck. This is such a lazy way of taking photos as you are basically telling yourself that all the photos you are going to take are head height to the length of your camera straps.
I wrap the strap around my hand and then hold onto my camera, that way I have full range of use with my camera. I can shoot at floor level or up high and I don’t have to be looking through the view finder either. Now you can take some really interesting photos from a new angle.
4 Sit and wait
It might only take a fraction of a second to take a photo but the waiting can take hours or even days.  Wildlife photographers spend many an hour waiting for the perfect moment to take the picture.
The difference between taking snaps and producing art is not rushing the shot and taking your time to think about each picture before you press the shutter release button.
5 Limit yourself to only 24 shots
In the olden days you could buy films with 24 exposures on them, now you can take 1000 photos with digital cameras. If you limit yourself to 24 photos per day of photography you will be much more selective with your shots. This technique is great for 2 reasons – firstly it makes you think about every shot and secondly it saves you a lot of time when reviewing your photos as there are less photos to go through.

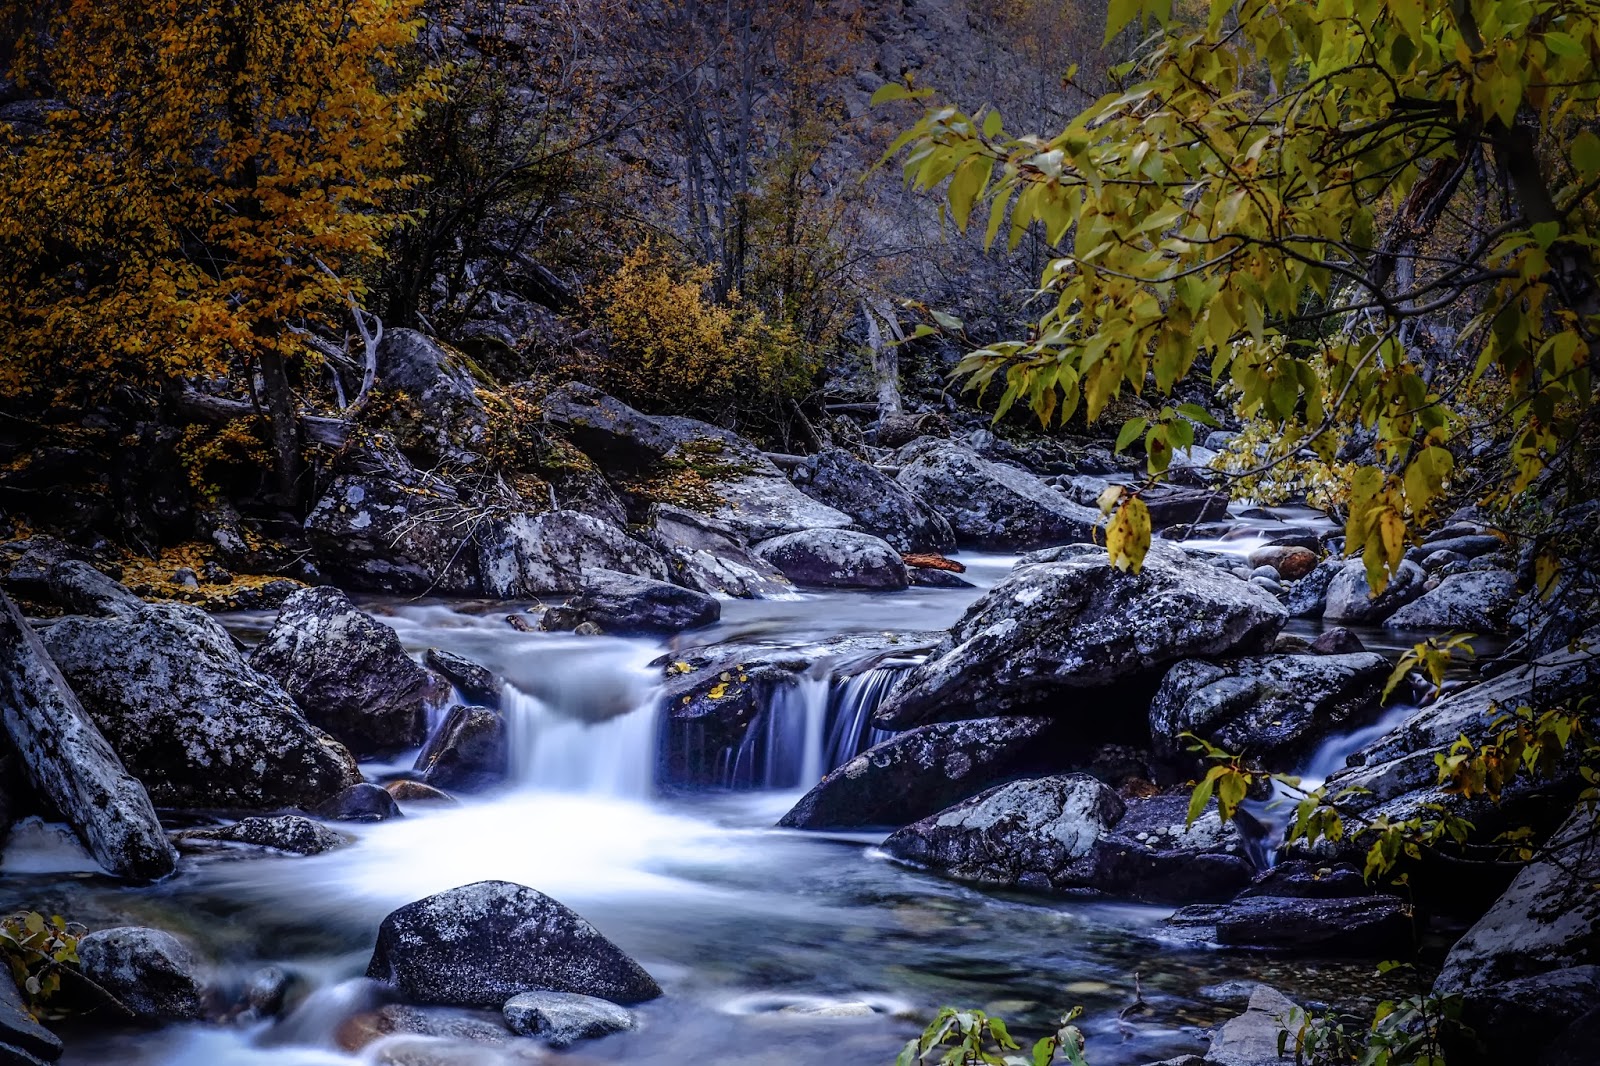
6 Don’t rush your shot
Everyone is always in such a rush in today’s world, but one time when it pays not to rush is when taking photos. By taking your time you are actually thinking about each shot and selecting what it is you want the viewer to look at. You spend more time looking at the angles, the light and the contrast in colours, which will ultimately improve the overall shot.
7 Framing your shot
When you are out and about look out for interesting objects. Is there a sculpture or a window frame that you could use to shoot through to change the point of view and create a natural frame around your picture? By having an open mind and having a keen eye you can add a new twist to your photos.
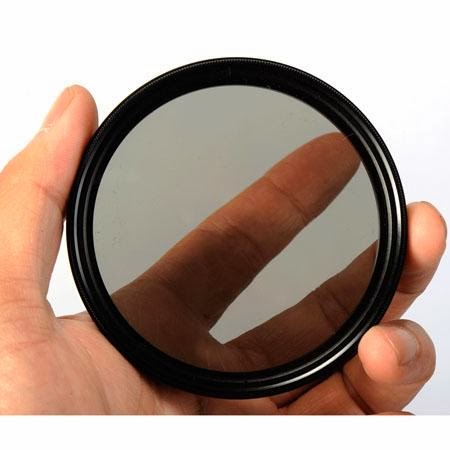
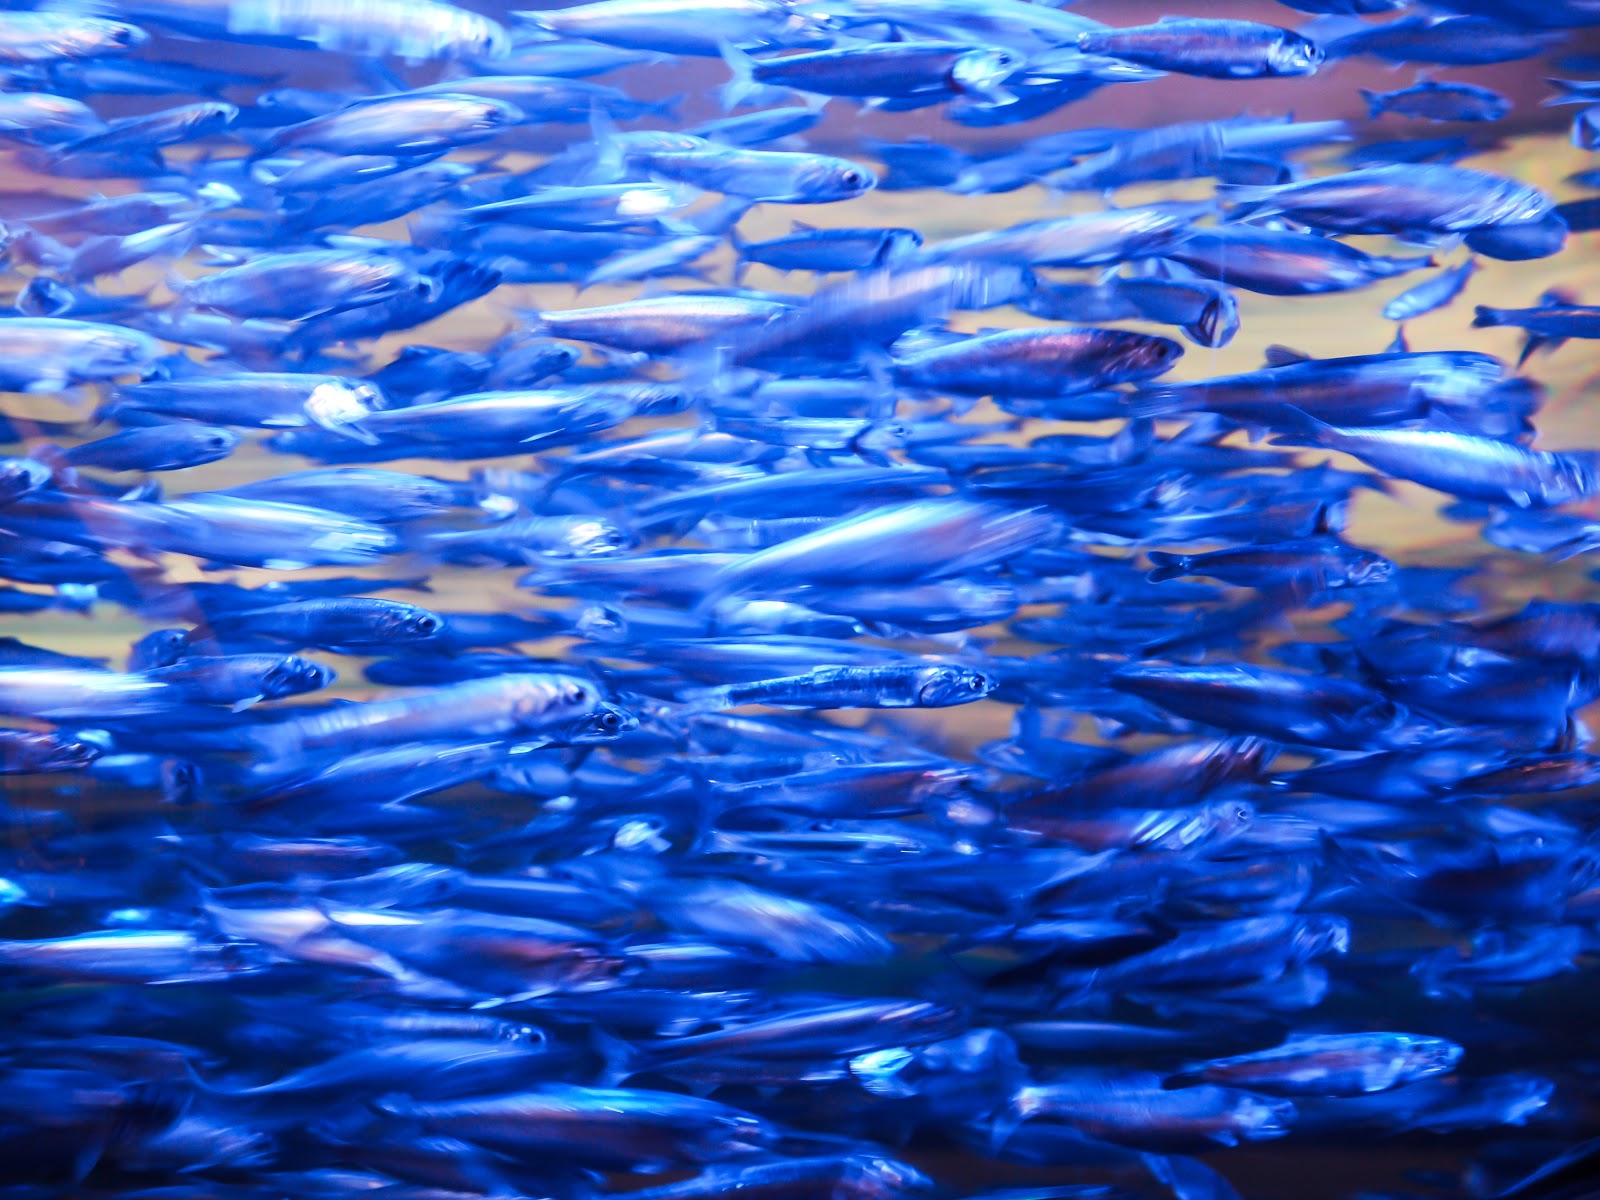


8 Using reflections
Reflections are great as they add new interest to your images and help create depth and detail in your photos. Keep an eye out for reflection in puddles, windows, buildings, sculptures or indeed any shiny surface.
9 You tell the story
Being the photographer you are telling a story to your audience and you must communicate what is important in each photo. Where do you want your viewer to look?  Is it in the centre, left or the right of the photo?  Is the most important thing in the photo in the foreground or the background? 
What is it about the shot that you found interesting?  You must tell your audience otherwise they will not make an emotional connection with your photo.


10 Think
Thinking is the most important thing of all when it comes to being a photographer.  A great photographer is always thinking about the shot and what it is about the shot that makes it interesting. By thinking, the photo becomes much more than just a click of the button. Everyone can take a photo, but very few can take a great shot.  Spending time thinking before pressing the button will develop your creative side, which will in turn show in your photos.

Bio
Luke Chapman-
Founder of the Official London Photography Tours with a love of everything to do with photography. On our London photography tours we use London as our playground and are proud to offer the best London photo walks in the capital.


I’d like to personally thank Luke for being my first Guest Writer.  Luke has done a wonderful job at writing a great article that is full of important information. Please visit his sites and thank you for visit Buffaloz Photography Training: Free Online Photography Tips, Training, and Tutorials! Please visit our Facebook Page !

Behind-The-Scenes Fashion Photography Tutorial

Great Video! You get to see how a Fashion session goes!

Bufflaoz Photography Triaining: Free online photography tips, tutorials and training.

I you are interested, please follow us on Facebook and Flickr

How to Crop an Image in Photoshop.

Cropping in image can be very important if you plan on printing a photo. What you see in your camera is not what you get when you print a photo. A 5×7 will need a different crop than an 8×10. To help out I have found a video that should be useful.